Table of Contents
Random Object Generator for Stop Motion
A random object generator for stop motion solves the one problem every stop-motion creator eventually runs into: staring at your desk, camera set up, tripod ready, and no idea what to actually animate.
Search “stop motion ideas” and you’ll find dozens of long lists — dancing food, marching toy parades, paper cutout stories. They’re fine starting points, but they’re also the exact same ideas everyone else scrolling that list is about to film. If you’ve made more than a couple of stop-motion clips, you’ve probably already tried the obvious ones.
A random object generator works differently. Instead of picking from a curated list of “ideas,” it hands you a genuinely unpredictable object — then your job is to figure out how to animate it. That constraint is where stop motion gets interesting.
Why Curated Idea Lists Run Out Fast
Most stop-motion inspiration articles are built the same way: a writer brainstorms 12 to 20 concepts, ranks them by difficulty, and publishes the list. It’s useful once. The second time you visit the same article, you already know what’s on it.
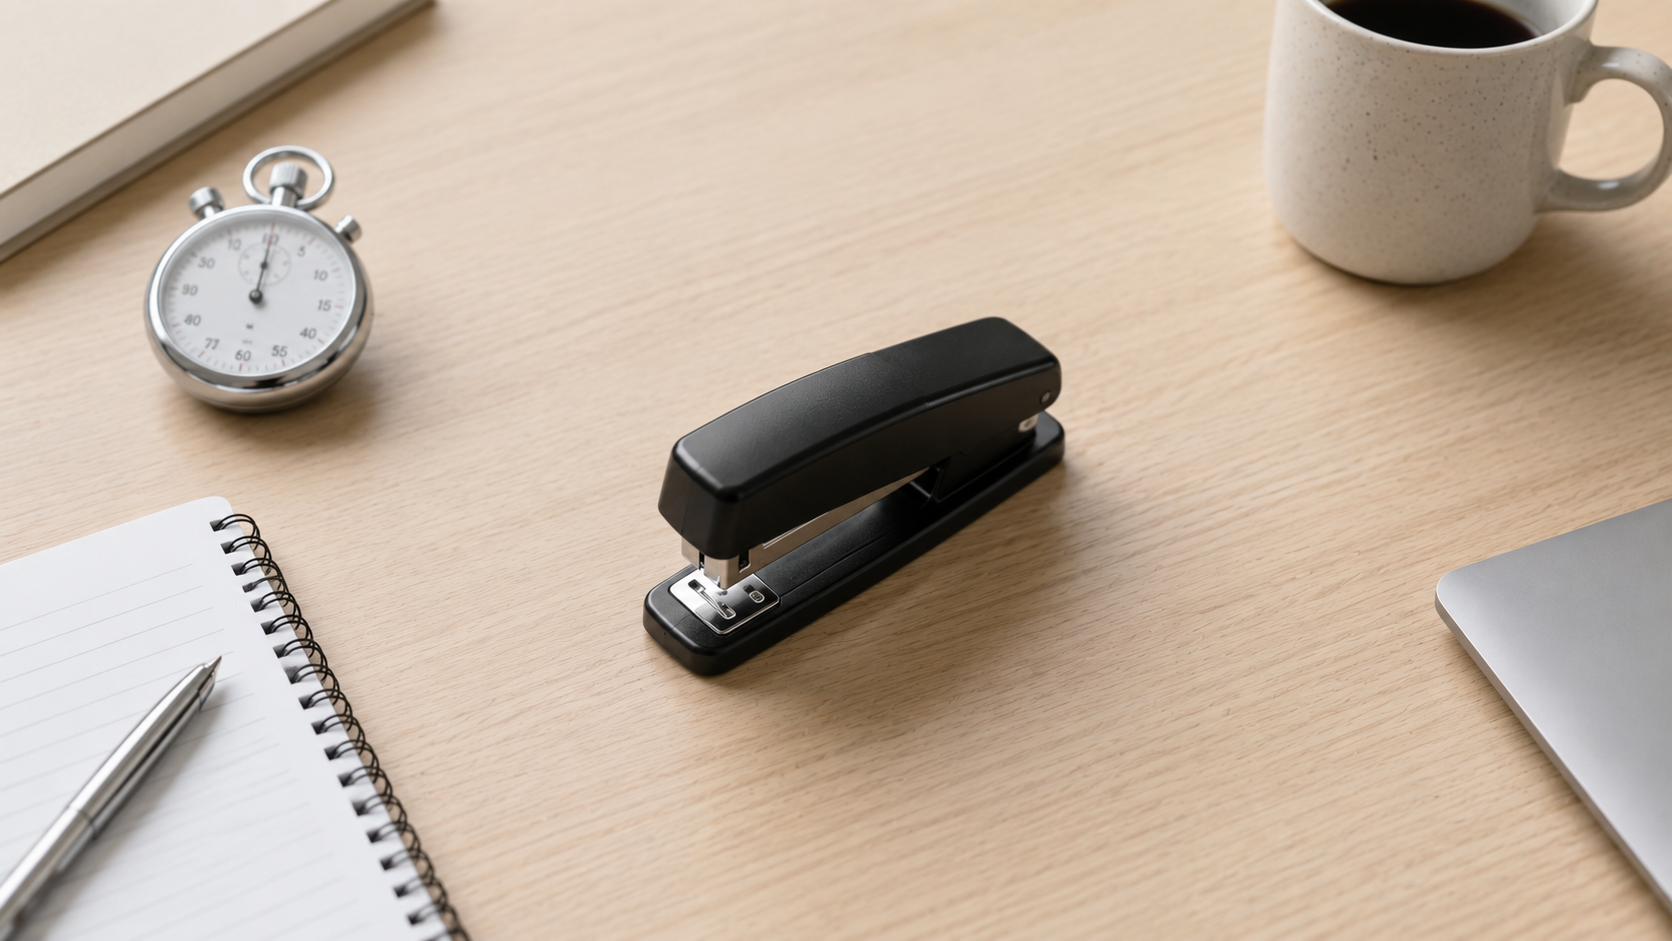
A generator doesn’t have that ceiling. Because it pulls from a pool of everyday objects rather than pre-written “ideas,” every click produces a genuinely different starting point — a stapler, a hairbrush, a rubber duck, a spool of thread. None of these are “stop motion ideas” in the traditional sense. That’s exactly the point. You have to invent the idea yourself, which is a better creative exercise than picking one off a list somebody else made.
How to Actually Use a Random Object Generator for Stop Motion
Here’s a simple way to turn a single generated object into a finished clip.
Step 1 — Generate one object. Use a random object generator and take whatever comes up first. Resist the urge to re-roll until you get something “cooler” — the constraint is the whole exercise.
Step 2 — Ask what the object wants. Instead of asking “what can I do with this,” ask “if this object were alive for ten seconds, what would it want?” A hairbrush might want to escape being used. A stapler might want to bite something. This reframe turns a random noun into a character instinct almost instantly.
Step 3 — Pick one simple action, not a story. Beginners often try to build a full plot around their object. Skip that. Pick one physical action — walk, hide, transform, escape, multiply — and animate just that. A 5-second clip of a spoon nervously inching across a table is more satisfying to finish than an ambitious 3-minute story you abandon halfway through.
Step 4 — Generate a second object as an obstacle. Click again for a second object and treat it as something your first object has to deal with — get around, avoid, or interact with. Two random objects together create a mini scene without needing a script.
Step 5 — Shoot in short bursts. Aim for 40–80 frames for a 3–5 second clip when you’re starting out. Short clips finish. Finished clips teach you more than long ones you never complete.
7 Ways to Use the Generator for Different Kinds of Projects
1. The Daily Object Challenge Generate one object every day and animate a 3-second clip of it doing something simple — walking, falling over, opening. This is the stop-motion version of a daily sketch challenge, and it builds frame-timing instincts faster than any tutorial.
2. The Two-Object Standoff Generate two unrelated objects and stage a tiny “conflict” between them — a coin trying to roll past a rubber band, a key trying to unlock a padlock that keeps hopping away. This is one of the fastest ways to practice staging and spacing between two subjects.
3. The Transformation Clip Generate an object, then ask what it could turn into using stuff already on your desk. A paperclip could “grow” into a chain. A cotton ball could “become” a cloud. This trains the classic stop-motion transformation technique without needing sculpting skills.
4. The Object Origin Story Generate an object and animate a tiny flashback of how it might have “arrived” somewhere unexpected — a shoe washing up on a desk-sized “beach,” a key falling from the sky. Useful for practicing camera framing and simple set dressing.
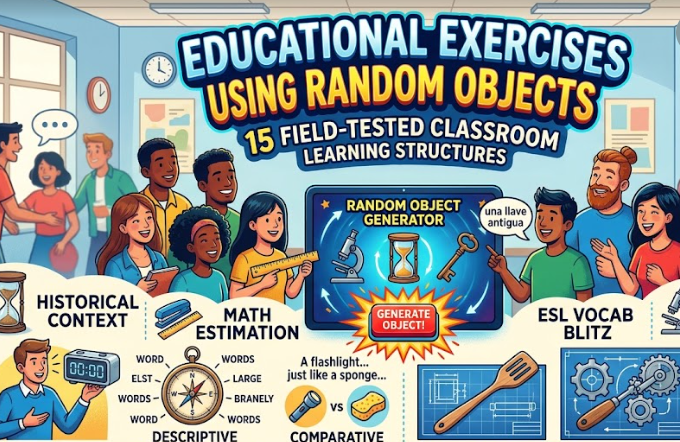
5. The Group Prop Swap For classrooms or animation clubs, generate 5–6 objects at once and assign one per student or team. Everyone animates the same short action (like “waking up”) using a completely different object, then compare results side by side.
6. The Sound-First Clip Generate an object, record a short sound effect for it first (a squeak, a thud, a rattle), and animate the movement to match the sound rather than the other way around. This flips the usual workflow and sharpens timing skills.
7. The Constraint Stack For more experienced animators, generate three objects and a required frame count (say, exactly 60 frames), then build a tiny scene using only those objects within that limit. Constraints like this are common in animation jam communities and force efficient storytelling.
Who This Actually Helps
- Hobbyist animators and TikTok/YouTube creators who post short clips regularly and need a fast way to avoid repeating themselves
- Teachers running STEM or media arts classes, where a generator gives every student a genuinely different starting object without extra prep work
- Animation students building a portfolio of short exercises, since generated objects force problem-solving instead of reusing a comfortable character design
- Parents or after-school program leaders looking for a screen-based activity that still involves hands-on building and patience
A Few Practical Tips
- Keep your camera and lighting fixed between frames — even small shifts in a handheld phone will make the whole clip look shaky no matter how good the animation is.
- Use tape, sticky tack, or a pin to anchor small objects so they don’t slide when you’re not touching them.
- Shoot a test run of 10 frames first to check exposure and framing before committing to a full sequence.
- If an object is too small to see clearly on camera, move the camera closer rather than trying to make the object’s movements bigger than they naturally would be.
Common Mistakes to Avoid
Re-rolling until you get something “better.” The whole value of a random object generator for stop motion is the constraint. If you keep clicking until you find an object you already have an idea for, you’re just recreating a curated list one click at a time — and you lose the problem-solving benefit that makes this exercise worth doing.
Overcomplicating the first few frames. New animators often spend twenty minutes perfecting the opening shot and then rush the rest. It’s better to rough out the entire sequence quickly first, then go back and refine specific frames once you know the timing works.
Forgetting to lock the camera down. A tripod, a stack of books, or even a phone wedged against a wall works — anything that keeps the camera from shifting between shots. This single habit fixes more amateur-looking stop motion than any editing trick.
Ignoring continuity between frames. If a background object gets bumped mid-shoot, it’ll “jump” in the final playback. Take a quick reference photo of your full setup before you start so you can check against it if something looks off later.
This same instinct — using true randomness instead of a curated list to force creativity — is worth trying outside of animation too. The same generator works well for a random object icebreaker game if you run team activities, or for quick creative writing prompts when you need a story starter instead of a visual one.
Frequently Asked Questions
What is a random object generator for stop motion? It’s a tool that generates an unplanned, everyday object to use as the subject, prop, or obstacle in a stop-motion animation, instead of choosing from a pre-written list of ideas.
Do I need special equipment to start? No. A smartphone, a stable surface, consistent lighting, and any stop-motion app with a frame-by-frame capture feature is enough to get started.
How many frames do I need for a short clip? For a beginner-friendly 3–5 second clip, 40–80 frames is a good target. Longer or more complex scenes may need several hundred frames.
Is this good for classroom use? Yes. Generating one object per student removes the “what should I make” bottleneck that often stalls group animation projects, and it guarantees no two students end up animating the exact same thing.
Can two random objects work together in one clip? Yes — generating a second object as an obstacle or partner is one of the fastest ways to build a tiny scene without writing a script first.
What’s the easiest first project to try? Generate a single object and animate just one simple action — walking, falling, or hiding — in a 3–5 second clip. Finishing something short teaches more than starting something long and ambitious.